How to Set Pop-Up Sprinkler Height in Spring
Winter is tough on irrigation systems. When temperatures swing and soil shifts, pop-up sprinkler heads can sink, tilt, or lose their aim. By the time spring arrives, your lawn may be getting patchy coverage, dry spots, and wasted water before you even notice. That’s why spring sprinkler repair is essential. Taking the time to inspect and adjust your system at the start of the season can save you from bigger headaches — and bigger water bills — down the line.
The good news? Spring is the perfect time to get everything back in shape. A quick inspection and a few head adjustments can restore even, efficient watering across your entire yard.
In this guide, you’ll learn:
- Why spring is the smartest season for sprinkler repair
- How to adjust pop-up sprinkler head height, step by step
- How to spot and fix common head problems
- How to protect water pressure and zone performance all season
Let’s get your system ready for a green, healthy lawn.
Why Spring Is the Best Time for Sprinkler Repair
Spring startup sets the tone for your entire watering season. Catching problems now means less water waste, lower bills, and a lawn that thrives through summer heat.
Cold weather causes real damage. Freezing ground heaves soil upward, mowers clip exposed heads, and settling dirt buries pop-ups below grass level. Small issues that hid all winter suddenly matter when you turn the system back on.
Here’s why an early-season check pays off:
- You avoid dry spots before they scorch in summer heat.
- You save water by fixing misaligned or sunken heads early.
- You catch bigger problems like leaks or valve issues before they grow.
- You start clean with a full system tune-up and zone inspection.
A little attention in spring prevents a lot of frustration in July. Next, let’s look at the heads themselves.
Understanding Pop-Up Sprinkler Head Height
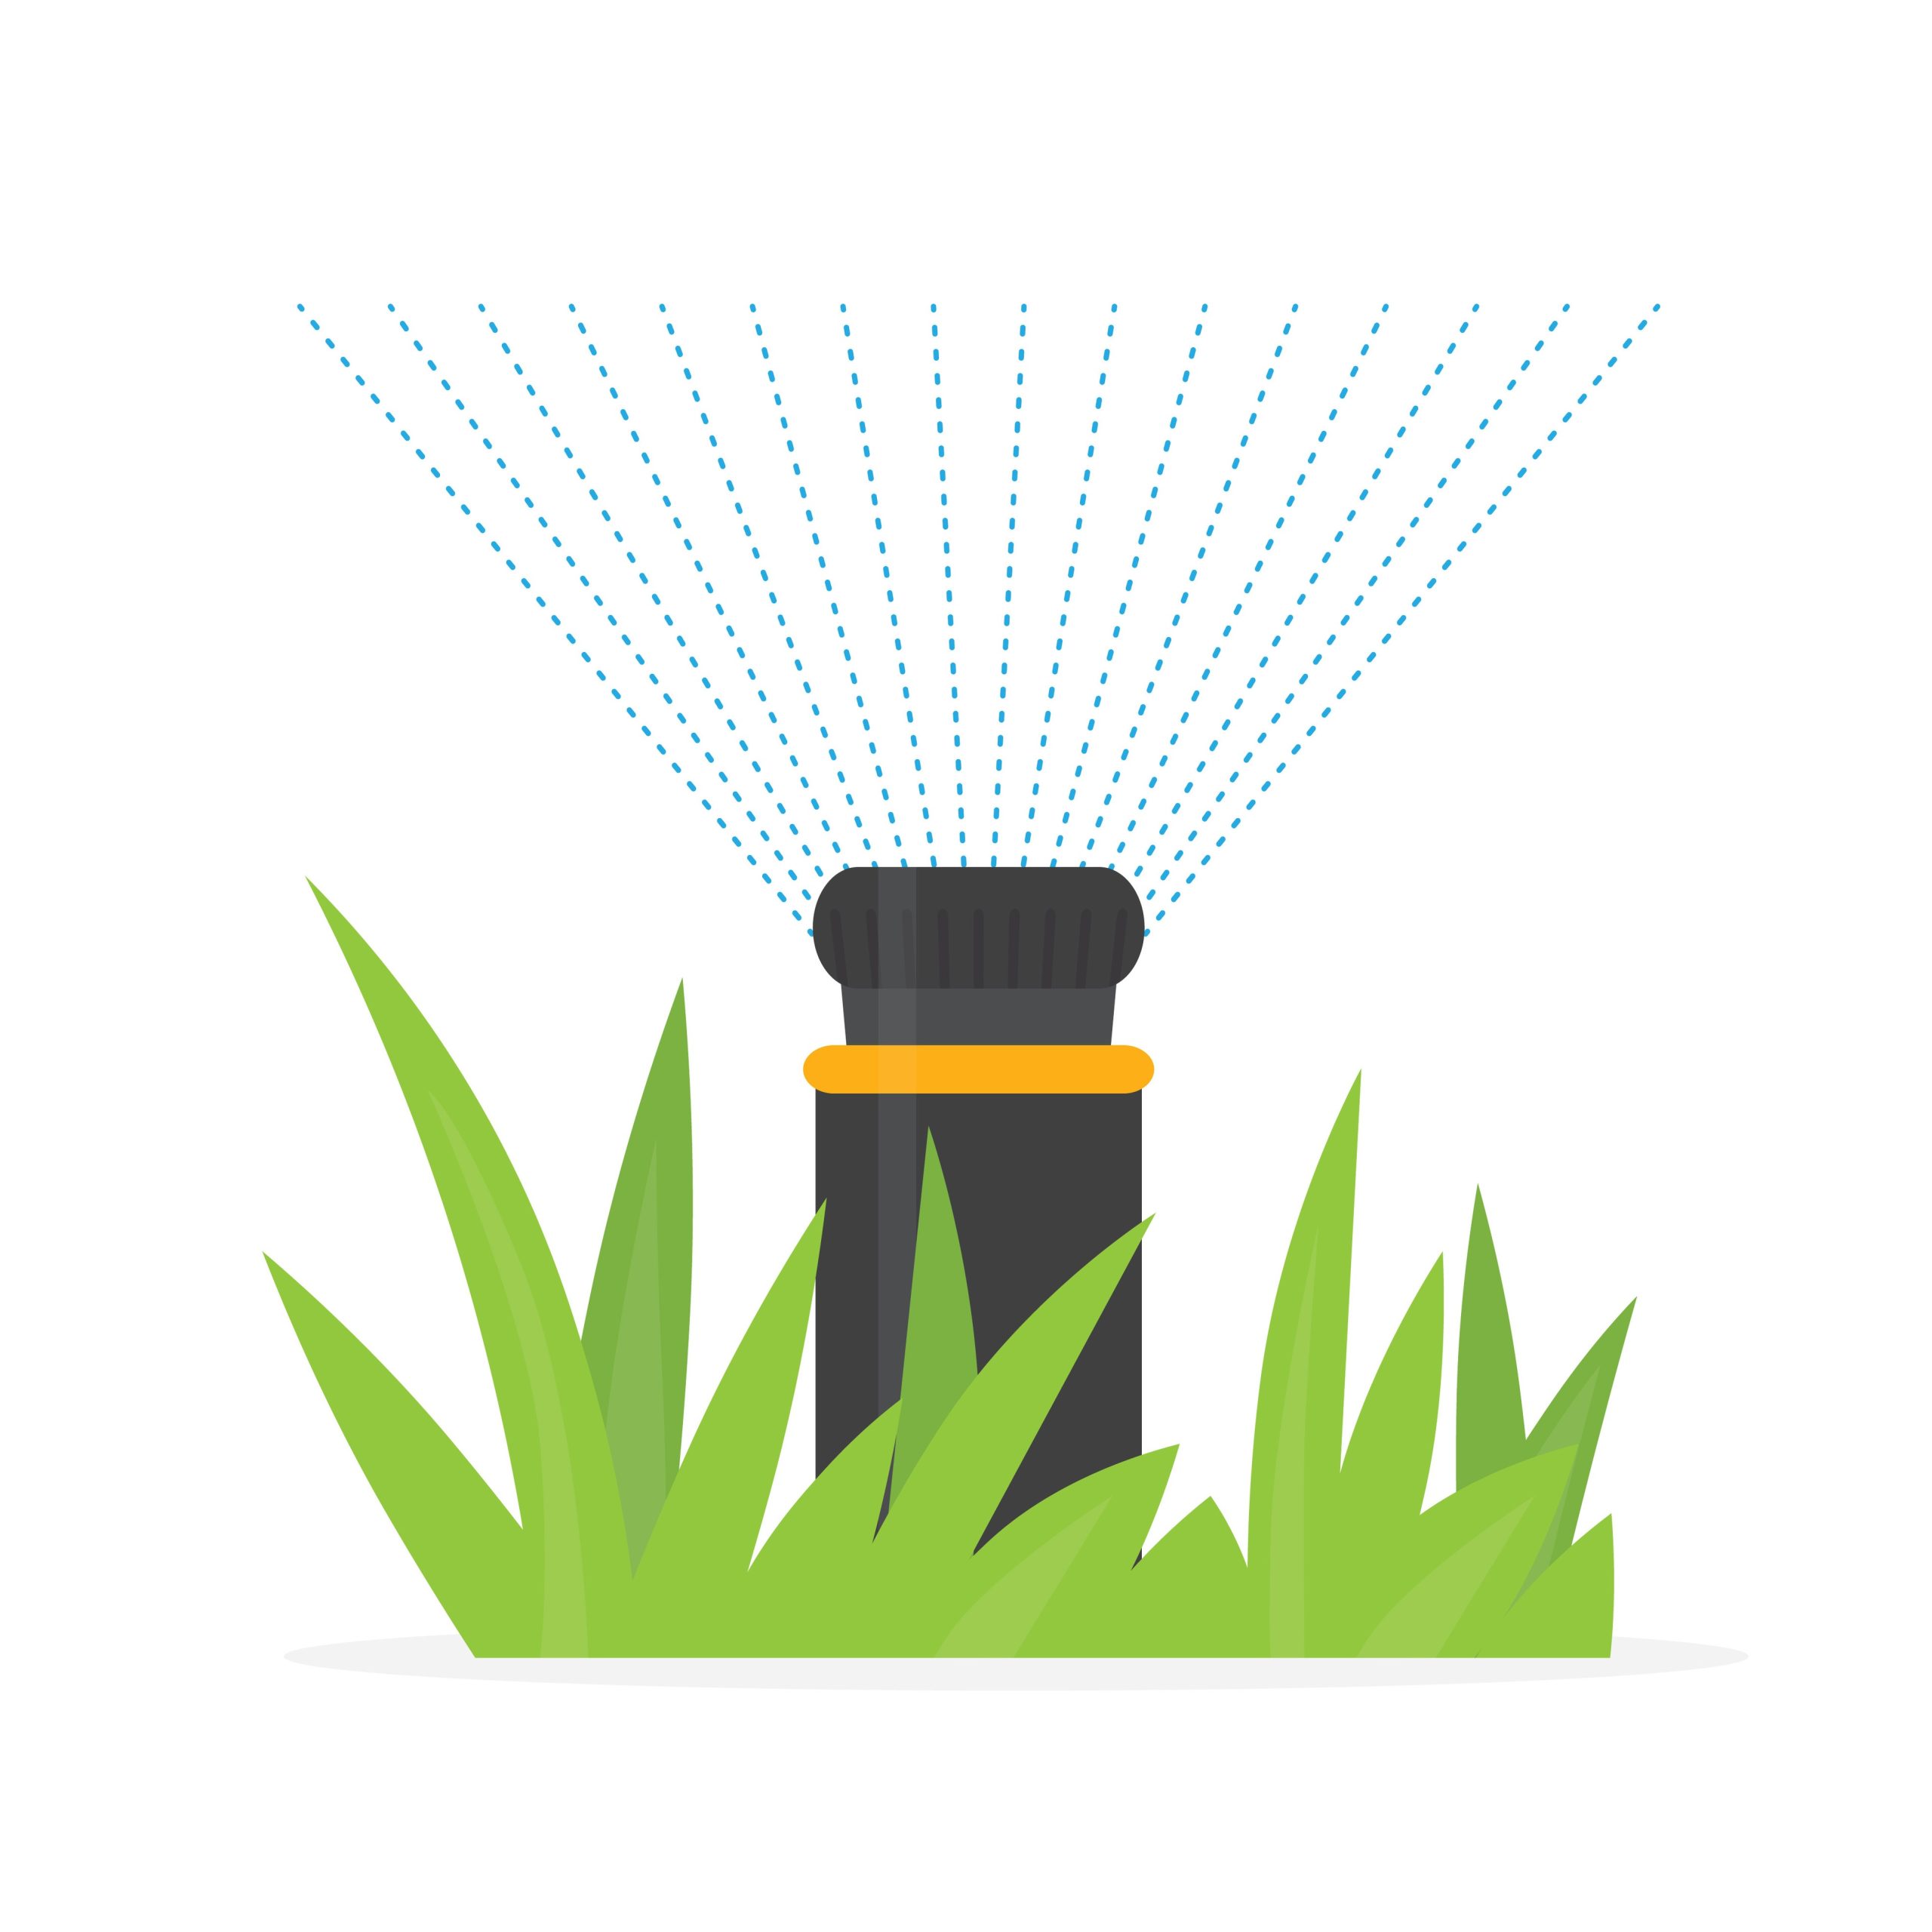
Pop-up heads sit flush with the ground when off, then rise to spray when the zone runs. Correct height keeps water arcing over the grass instead of into the dirt.
When a head sits too low, blades of grass block the spray and starve nearby areas. When it sits too high, it becomes a tripping hazard and an easy target for your mower. The goal is simple: the head should sit level with the soil, rising cleanly above the turf when active.
Getting this right is the foundation of even coverage. Now let’s fix it.
How to Adjust Pop-Up Sprinkler Head Height (Step by Step)
Adjusting a pop-up head is a manageable DIY task with the right approach. Follow these steps to raise or lower a head so it sits flush and sprays properly.
Step 1: Turn Off the System
Shut down the zone at your controller before you dig. This keeps the head from popping up mid-adjustment and prevents wasted water.
Step 2: Expose the Head
Use a trowel to carefully dig a small circle around the sprinkler head. Clear away soil and grass roots until you can see the body of the head and the riser pipe it connects to.
Step 3: Check the Current Height
Set a straightedge or small board across the surrounding turf. The top of the head should sit flush with the soil line, or just slightly below the grass blades—about a quarter inch below the surface works well.
Step 4: Raise or Lower the Head
To raise the sprinkler head, loosen the soil around it and gently pull up on the riser pipe. Add a small amount of soil under the head to bring it up to the desired height. To lower the head, carefully dig out more soil from around the base of the head until it reaches the desired level.
Step 5: Test and Adjust
Once you have adjusted the height of your sprinkler heads, turn on your irrigation system and check for proper coverage. Make sure no water is pooling around the heads and that they are spraying at their intended distance and pattern. If necessary, use a screwdriver or special key to adjust the spray radius or direction of individual heads.
Step 6: Regular Maintenance
Properly adjusted sprinkler heads can save water and ensure your lawn stays healthy, but it’s essential to check them regularly. Over time, dirt, debris, or shifting soil can alter their alignment. Clean the nozzles occasionally and inspect for leaks or clogs. A quick seasonal check can help extend your system’s life and maintain optimal performance.
Troubleshooting Common Issues
If you notice dry spots or excessive water pooling, it might indicate deeper problems such as damaged heads or low water pressure. Ensure all heads are clean, clear, and free of obstructions like grass or debris. If issues persist, it may be worth consulting with a professional irrigation specialist to avoid long-term damage.
Need Professional Help?
Adjusting sprinkler heads is a manageable DIY task, but sometimes a more comprehensive system tune-up is required. For expert assistance with your irrigation system, call us at 832-702-3300 or request service today. Our specialists are here to help you achieve a lush, green lawn while conserving water and ensuring your sprinkler system operates at peak efficiency.